
MyCo Documentation & Help Center
Introduction
Speaking of automating your entire sales process, your customers ability to select a product to buy and make payment by using just a form says it all.
My Center Office allows your customers to access your product list, select their choice, and make payment by filling out just one form.
How does this work? Let's check it out.
For Example
Jane, an event planner, runs a Standard and Premium event package. This means that for Jane to help out with event planning, the customer must choose their preferred package.
Thinking of how the customers will know what each package entails? 🧐 My Centre Office gets you covered because it also enables you to input the package description and prices. Let's get started.😃
Steps
1. Navigate to Menu > Settings > Accounting Settings > Products and Prices.
2. Click on the + icon to add a product and price.
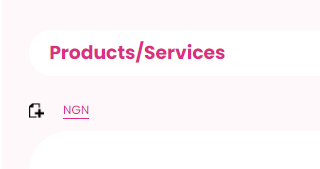
3. Input the product title.

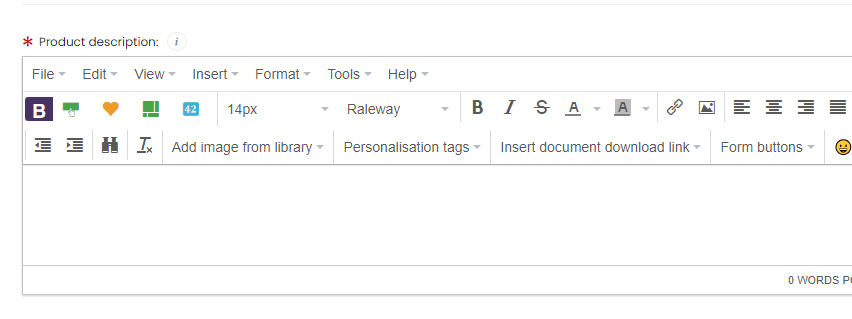
4. Add the Product description.
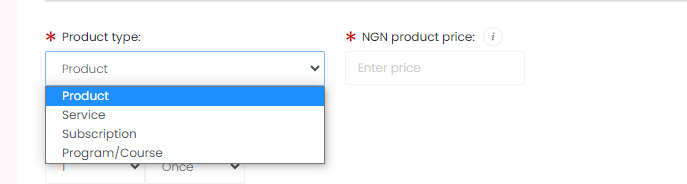
5. Select "Product" under "Product type" and type in the equivalent price under "Product price."
6. Scroll down and click on "Create."
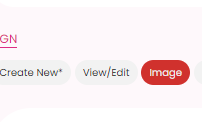
7. Click on the "Image" tab if you wish to enter the product image.
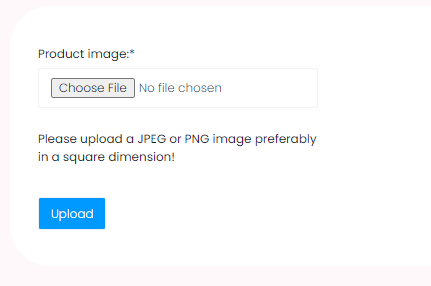
8. Click on "Choose file" to choose a file from your device, and Click Upload.
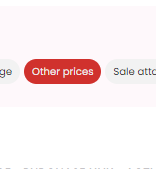
9. Click on "Other prices" if you wish to add equivalent prices in another currency.
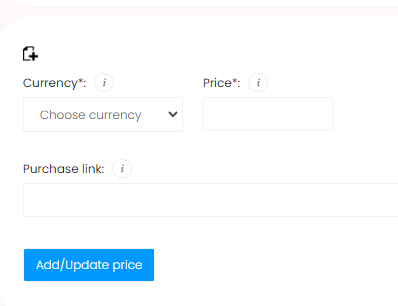
10. Choose the currency and type in the Price. Then click on 'Add/Update price."
11.Click on the "Sale Attachment" tab if you wish to add a sales document.
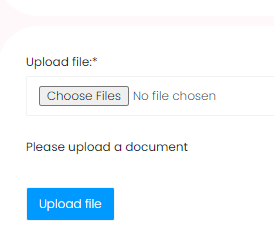
12. Choose the document to upload from your device and click on "Upload file."
13. Click on the "Back products and services" tab to view the created products and prices.

Yes! We have our created products look this way. 👇 👇
Repeat steps 1–13 to add as many products and prices as you want.
P.S. Skip Steps 7–13 if you do not want to add images, other prices, or sale attachments.
All set! What next?
Let's go ahead and include the products and prices in our form.
14. Navigate to Menu > Forms > Create new form.
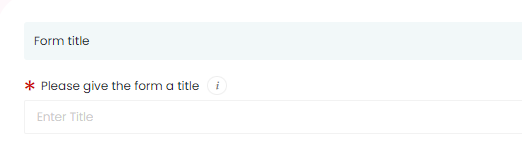
15. Type in the "Form title".
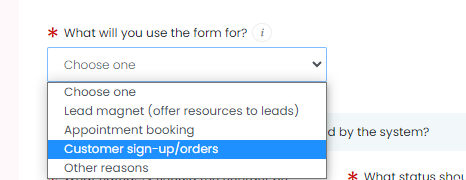
16. Choose customer "sign-up/order" as what you want to use the form for.
17. Choose the category in which the contacts will be saved.
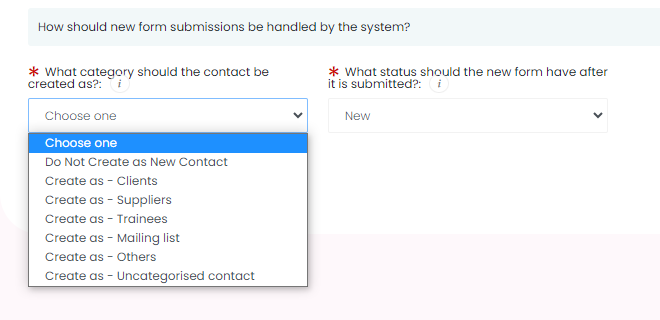
18. Then click on "Create Form.".
19. Use:
i. "Main options" tab to style your landing page. Then, click on "Update"
ii. "Styling" tab to style your form (Thumbnail image, Display theme,Display logo e.t.c). And click on "Update styling"
iii. "Personal/Business details" tab to set the details you wish to capture on the form. Then, scroll down and click "Update".
20. Click on the "Form Questions" tab to add the products and prices to the form.
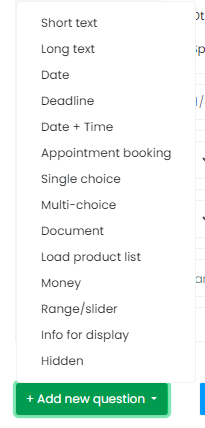
21. Scroll down and Click on "Add new question".
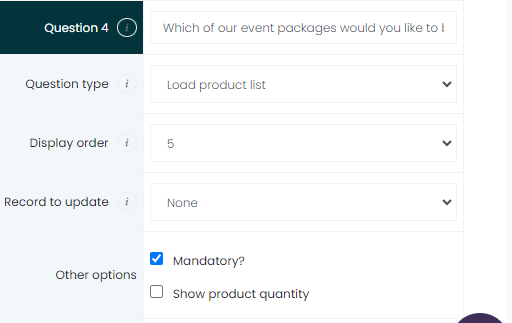
22. Select "Load product list."
23. Type in your question and Click on "Save."
24. On that same page that you've typed in your question, select the products you want the form to display (this is because you may have more than one product on your products list, and all may not be suitable for that particular form).
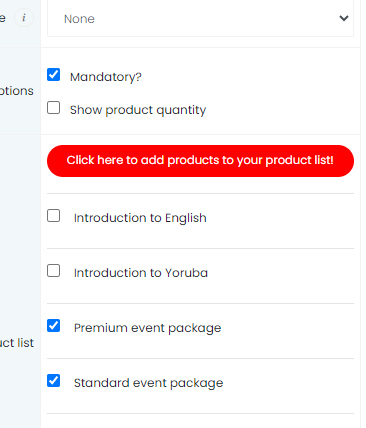
25. Scroll down and click on "Save."

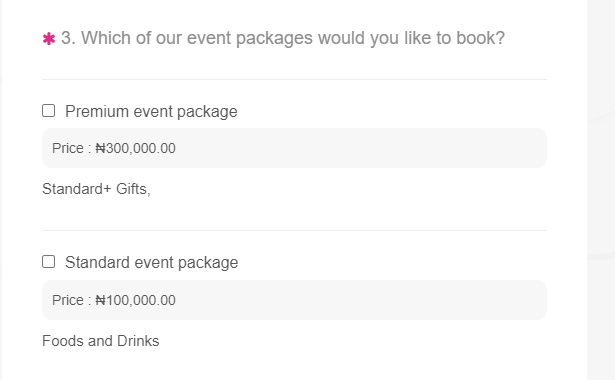
26. All set! Go ahead and copy the "Form link" and share.

Let's see how this looks on the form.
Getting help / Contacting Support
Our service center will always be available to help should you have any issues.
You can always chat with one of our support representatives while you are logged onto MyCo, alternatively you can hit the button below to leave us a message.
MyCo Service Desk
.
Speaking of automating your entire sales process, your customers ability to select a product to buy and make payment by using just a form says it all.
My Center Office allows your customers to access your product list, select their choice, and make payment by filling out just one form.
How does this work? Let's check it out.
For Example
Jane, an event planner, runs a Standard and Premium event package. This means that for Jane to help out with event planning, the customer must choose their preferred package.
Thinking of how the customers will know what each package entails? 🧐 My Centre Office gets you covered because it also enables you to input the package description and prices. Let's get started.😃
Steps
1. Navigate to Menu > Settings > Accounting Settings > Products and Prices.
2. Click on the + icon to add a product and price.
3. Input the product title.
4. Add the Product description.
5. Select "Product" under "Product type" and type in the equivalent price under "Product price."
6. Scroll down and click on "Create."
7. Click on the "Image" tab if you wish to enter the product image.
8. Click on "Choose file" to choose a file from your device, and Click Upload.
9. Click on "Other prices" if you wish to add equivalent prices in another currency.
10. Choose the currency and type in the Price. Then click on 'Add/Update price."
11.Click on the "Sale Attachment" tab if you wish to add a sales document.
12. Choose the document to upload from your device and click on "Upload file."
13. Click on the "Back products and services" tab to view the created products and prices.
Yes! We have our created products look this way. 👇 👇
Repeat steps 1–13 to add as many products and prices as you want.
P.S. Skip Steps 7–13 if you do not want to add images, other prices, or sale attachments.
All set! What next?
Let's go ahead and include the products and prices in our form.
14. Navigate to Menu > Forms > Create new form.
15. Type in the "Form title".
16. Choose customer "sign-up/order" as what you want to use the form for.
17. Choose the category in which the contacts will be saved.
18. Then click on "Create Form.".
19. Use:
i. "Main options" tab to style your landing page. Then, click on "Update"
ii. "Styling" tab to style your form (Thumbnail image, Display theme,Display logo e.t.c). And click on "Update styling"
iii. "Personal/Business details" tab to set the details you wish to capture on the form. Then, scroll down and click "Update".
20. Click on the "Form Questions" tab to add the products and prices to the form.
21. Scroll down and Click on "Add new question".
22. Select "Load product list."
23. Type in your question and Click on "Save."
24. On that same page that you've typed in your question, select the products you want the form to display (this is because you may have more than one product on your products list, and all may not be suitable for that particular form).
25. Scroll down and click on "Save."
26. All set! Go ahead and copy the "Form link" and share.
Let's see how this looks on the form.
Getting help / Contacting Support
Our service center will always be available to help should you have any issues.
You can always chat with one of our support representatives while you are logged onto MyCo, alternatively you can hit the button below to leave us a message.
MyCo Service Desk
.